Route
A side-story branch with its own scenes and escape objective, not a replacement for the main route.
Side story guide · route boundaries
Separate the side-story route from the main chapter path, understand what the community guide actually confirms, and protect your saves before testing the Prince of Wei escape sequence.

Quick answer
A side-story branch with its own scenes and escape objective, not a replacement for the main route.
Steam Community route testing is useful for navigation, but it is not an official rulebook.
Use a separate manual save before the side-story entry and before any public confrontation or escape choice.
Intent boundary
| Search question | Best answer here | Where to continue |
|---|---|---|
| What is the side story? | Its route purpose, chapter boundary, and relationship to the main story. | This page |
| How do I find the Prince of Wei route? | Community-tested location clues and a safe save plan. | This page, then walkthrough |
| Which choice is correct? | Use the complete choice table when exact wording matters. | Walkthrough |
| How do I finish every reward? | Track the route first, then clean up achievements and interface tasks. | Achievements guide |
Road to Empress II search results mix several different needs: players ask about the main numbered chapters, individual choices, endings, achievements, and a side story that can feel hidden when the game presents it through the same palace-and-FMV framework. Those are related topics, but they are not the same page intent. A main walkthrough tells you what to do at a choice. An endings guide compares outcomes. A side-story guide explains where the additional route fits and how to approach it without destroying a useful save.
The public evidence is also uneven. The official Steam page is the right place for the game's store identity, platform information, and visible product details. A Steam Community guide provides route-level observations for the side chapter and the Prince of Wei escape sequence. That distinction matters: use official pages for what the product is, and use community testing as a practical clue that can change with translations, patches, or a player's route state.

Community route documentation labels a Side Chapter around Ganye Temple and describes an escape sequence involving the Prince of Wei. For a player following the main chapter list, the important takeaway is not to force every side-story event into the same numbered progress assumption. Record the story-map label, the scene location, and the immediate objective in your own save notes. If your language version uses a different translation, the scene meaning is a safer identifier than one copied English line.
Treat the route as a branch with its own risk profile. The main story may be useful for learning the game's social rules, but a side-story escape can ask you to interpret urgency, authority, witnesses, and movement differently. Do not assume that a choice that protected a main-story relationship will automatically protect the side-story outcome. The guide's job is to make that boundary visible, not to invent a universal correct answer where the public evidence is incomplete.
Finish or stabilize the main-story save before opening the side-story branch.
Create a new manual slot before the Ganye Temple or escape-sequence clue appears.
Test one choice at a time, then return to the achievement checklist after the route is clear.
The safest routine is simple: keep one stable main-story slot, one side-story entry slot, and one rotating test slot. Make the entry save before the game locks you into a new location or begins a high-pressure conversation. When a public accusation, escape instruction, or loyalty test appears, create another save if the interface allows it. This gives you a way to verify a community clue without replaying a long FMV chain.
When testing, change only one variable at a time. Reload the same scene, choose the alternate response, and note whether the result changes immediately or only after a later transition. Avoid overwriting the stable slot with an unverified branch. If a route looks different from the community guide, check language, patch state, chapter selection, and whether a previous relationship or evidence condition was already changed. A mismatch is a reason to document the state, not proof that one source is automatically wrong.
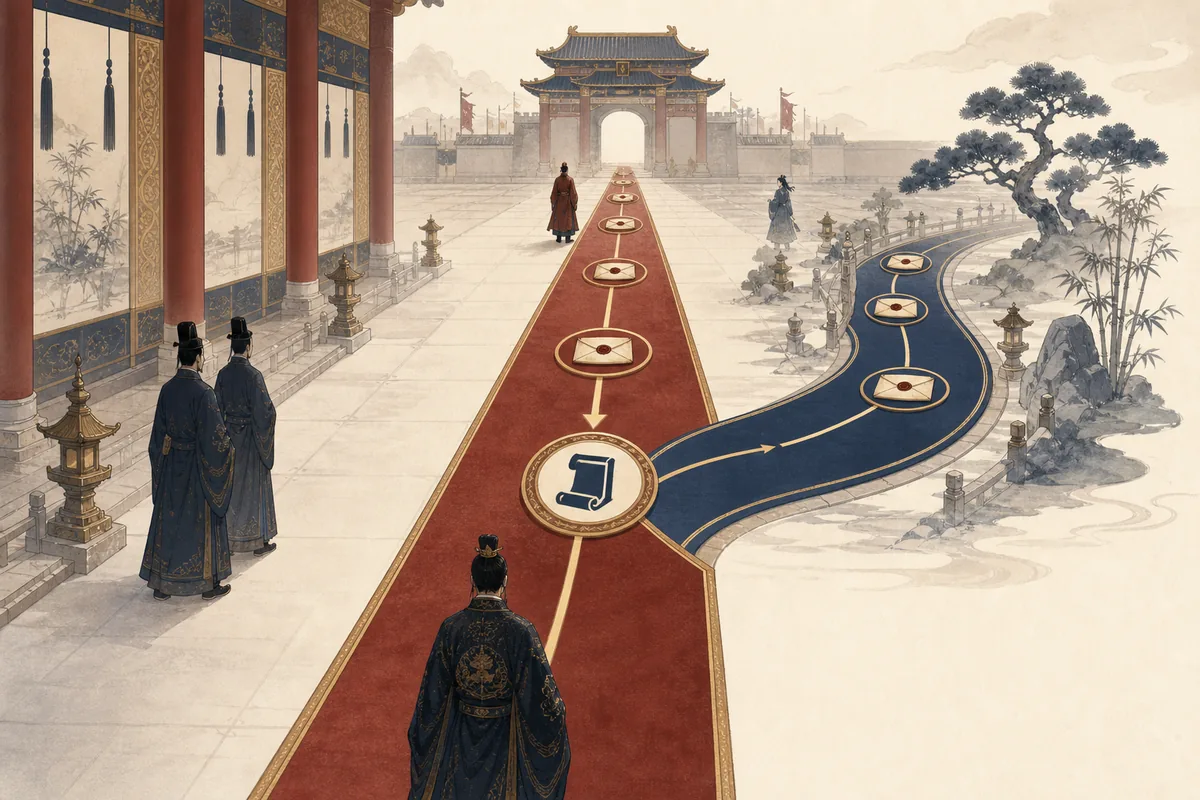
Road to Empress II completion has more than one kind of progress. Story-map coverage, endings, relationship branches, Feats, voice messages, screenshots, hidden videos, and Court Mode tasks may not be solved in the same order. The side story should be treated as route progress first. Once you understand where its scenes sit, return to the achievements guide and mark what the route actually contributed instead of replaying the entire game from memory.
This order also protects against a common mistake: spending hours chasing a reward before confirming that the side-story route is complete. Keep a small checklist with the side-story label, the escape result, any ending or relationship change, and the achievement screen state. If a reward appears late, leave and re-enter the relevant result screen before replaying the route. The side-story page is therefore a planning layer between the walkthrough and the final cleanup pass.
This page intentionally gives a route map rather than a full script. The official source supports the game's identity and presentation; the community source supports practical route clues. Neither source, by itself, proves every choice outcome for every language or patch. That is why the wording uses terms such as community-tested, reported, or useful clue instead of claiming an official universal route rule.
Start with the quick answer and save plan if you are playing blind. Move to the walkthrough when you need the exact choice wording. Open the endings guide only when you are ready for outcome spoilers. If your goal is 100% completion, use the achievements page after the side-story route is stable. Keeping those layers separate makes the wiki more useful for both first-time players and completionists.
Sources
FAQ
Related guides